 LEN
“The rotator cuff is a small muscle, so it can only handle light weight.” I still hear this all the time, from patients, from coaches and even from other clinicians.
We tackled rotator cuff strengthening on a recent episode of the Ask Mike Reinold Podcast. Scott from Connecticut asked a great question. Since the infraspinatus and teres minor are small muscles, do they respond to heavier loads like 3 sets of 8, or is there a ceiling because of their size?
Short answer: there’s no true ceiling. You just have to be smart about how you progress it.
I mostly sat back and listened on this one, because my coworkers nailed it. Here’s a recap of what Mike, Anthony Videtto, Dave Tilley and Brendan Gates covered, plus a couple of my own thoughts.
Small doesn’t mean weak
For years we were told that if you went over 5 pounds with rotator cuff exercises, the cuff would shut off and the deltoid would take over. That idea stuck around way too long for some reason.
Mike put it best on the show. His forearm muscles are small. His ankle muscles are small. Nobody thinks those can’t get stronger. The cuff is no different. It’s muscle, and muscle responds to load.
The catch is form. As Anthony Videtto pointed out, when the weight gets too heavy, athletes start cheating. They use momentum, roll the scapula forward or turn the exercise into a trunk rotation. At that point you’re not training the cuff anymore. The form has to be perfect when you’re trying to isolate these muscles.
Step 1: Add load, slowly
Start simple. Keep the sets and reps the same, something like 2 or 3 sets of 10, and progress the weight a little at a time. 5 pounds, then 6, then 7.
That sounds tiny, but going from 5 to 6 pounds is a 20% jump in load. That’s a big step for a small muscle group. Stay in this phase longer than you think you need to before you start changing other things.
Step 2: Add a pause
When you run out of dumbbells, or the form starts to slip, don’t just grab a heavier weight. Add a 3 second isometric hold at the top of each rep. Something like 2 sets of 8 with a 3 second hold. You get more time under tension without piling on load, and it’s a lot harder than it sounds.
Step 3: Add volume and variety
Dave Tilley made a great point here. Don’t rely on one exercise. Pick 2 or 3 that hit the posterior cuff a little differently and build up total volume. Sidelying external rotation, prone variations and scaption at different angles all work well together.
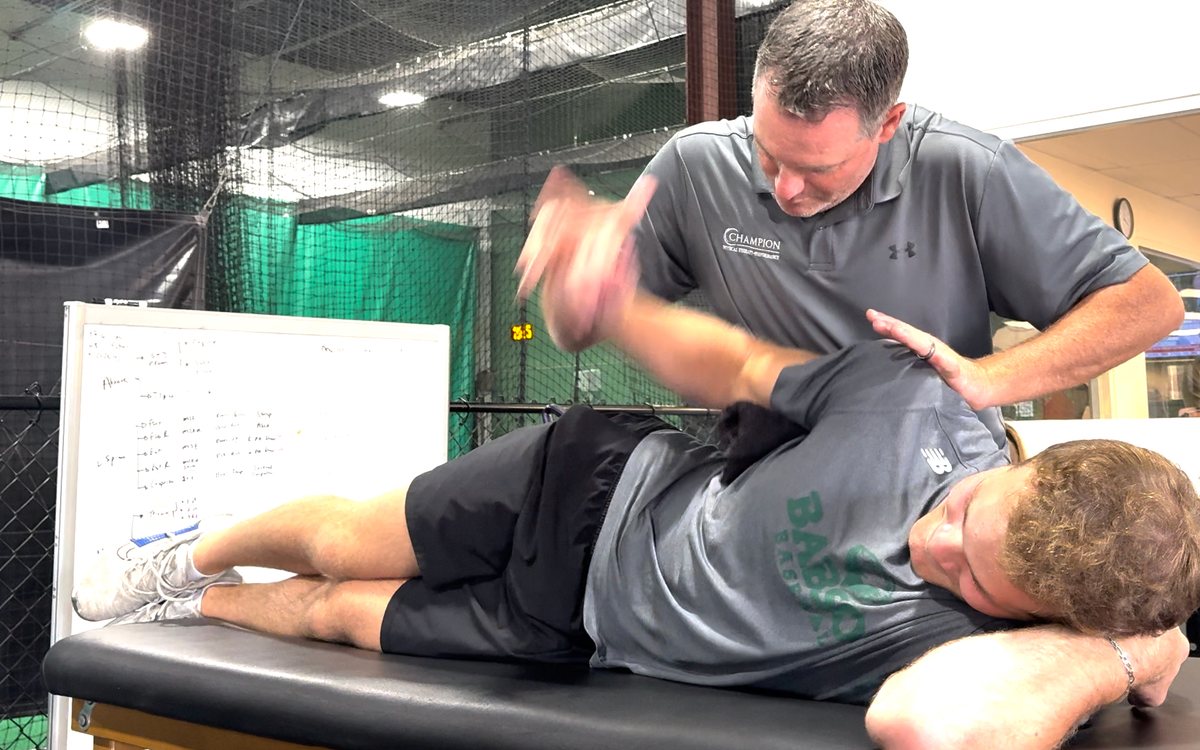
There’s research behind this, too. Mike’s EMG study from his ASMI days found that sidelying external rotation produced the most infraspinatus (62% MVIC) and teres minor (67% MVIC) activity of the 7 exercises tested. Prone horizontal abduction at 100 degrees with full external rotation was the big one for the supraspinatus and the middle and posterior deltoid. And in our supraspinatus paper, the full can, empty can and prone full can all hit the supraspinatus about the same, but the full can did it with the least deltoid. That’s why the full can is still my go to.
I go deeper on this in my MedBridge course, Rehabilitation Following Rotator Cuff and Labral Repair Surgery. Use code LENNY to save on a yearly subscription.
See the course →Step 4: Progress the position
Mike said it on the show and I couldn’t agree more. You have to earn strength at 0 degrees before you go to 90 degrees. Start with the arm at the side. Once that’s strong and clean, move up to 90 degrees of abduction, then add speed, then eccentric control. Those are later stage tools, not day 1 exercises.
Keep the ratios in mind
The team also talked about external to internal rotation work. Most athletes we see need more external rotation, so we’ll often start around 2 to 1 and move toward 3 to 1. The internal rotators get plenty of work from everything else an athlete does.
Sweat the small stuff
A lot of this comes down to details. Don’t use momentum. Don’t worry about setting the scapula. Let it move. Use a towel roll with sidelying external rotation and standing external rotation.
One of the stories on the episode was about a pro athlete whose shoulder soreness cleared up once his compensation in sidelying external rotation got fixed. Pay attention to the details of an athlete’s movements.
And stop changing exercises just for the sake of variety. Master the basics first. Mike mentioned seeing 20% to 30% gains in external rotation strength on the dynamometer when athletes stick with a program like this.
What I take away about rotator cuff strengthening
- The rotator cuff can handle real load
- Progress weight in small jumps. 1 pound is a big deal at 5 pounds
- When load stalls, add a pause before you add weight
- Use 2 or 3 exercises that complement each other to build volume
- Get good at it at 0 degrees before you go to 90
- Good form or it doesn’t count
You can listen to the full episode above or right here on Mike’s site. For more on the shoulder, check out my shoulder rehab posts and my older post on simple steps to rotator cuff rehabilitation.
How I progress patients after cuff and labral repairs, from protecting the repair early to getting them back to full strength. Use code LENNY to save on a yearly MedBridge subscription.
Watch the Course →
Evidence based sports rehab content, course updates and clinical pearls. No spam.
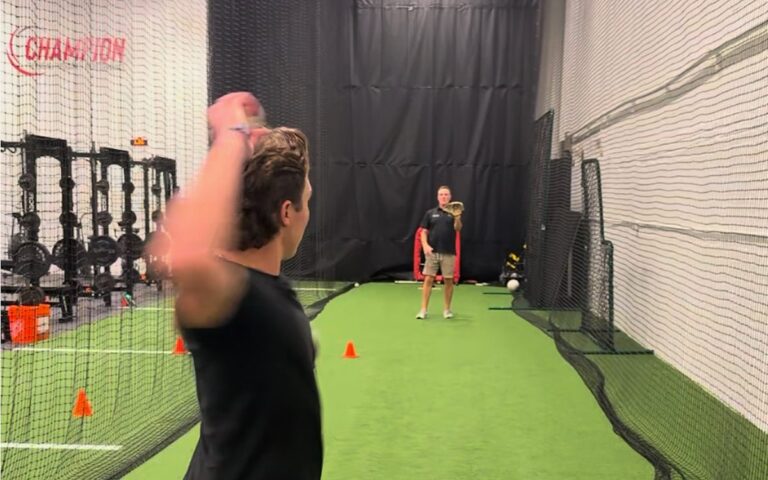
4 Interval Throwing Programs: Matching the Program to the Injury
Our new IJSPT paper gives you four interval throwing programs, 6 weeks to 7 months, built on workload data. Here is how I match each one to the injury.
Read Post →
Diagnosed with an elbow UCL Tear- Reconstruction or Internal Brace surgery?
Diagnosed with a UCL tear? A plain English look at Tommy John reconstruction vs the internal brace, return to play times, and what the evidence says.
Read Post →
Infraspinatus atrophy in a baseball pitcher with a UCL sprain
This post discusses the evaluation and treatment of a college baseball pitcher with a finding of infraspinatus atrophy due to a spinoglenoid notch cyst.
Read Post →